

Welcome Artists!
We're thrilled to welcome you to our artist collective, a diverse group of skilled professionals who can offer Ephemeral ink to your clientele! We are excited to be a part of your artistic journey by introducing our made-to-fade ink to your creative tattoo toolkit. Drawing from our nine years of experience with our ink, we've packaged our insights to set you up for success.
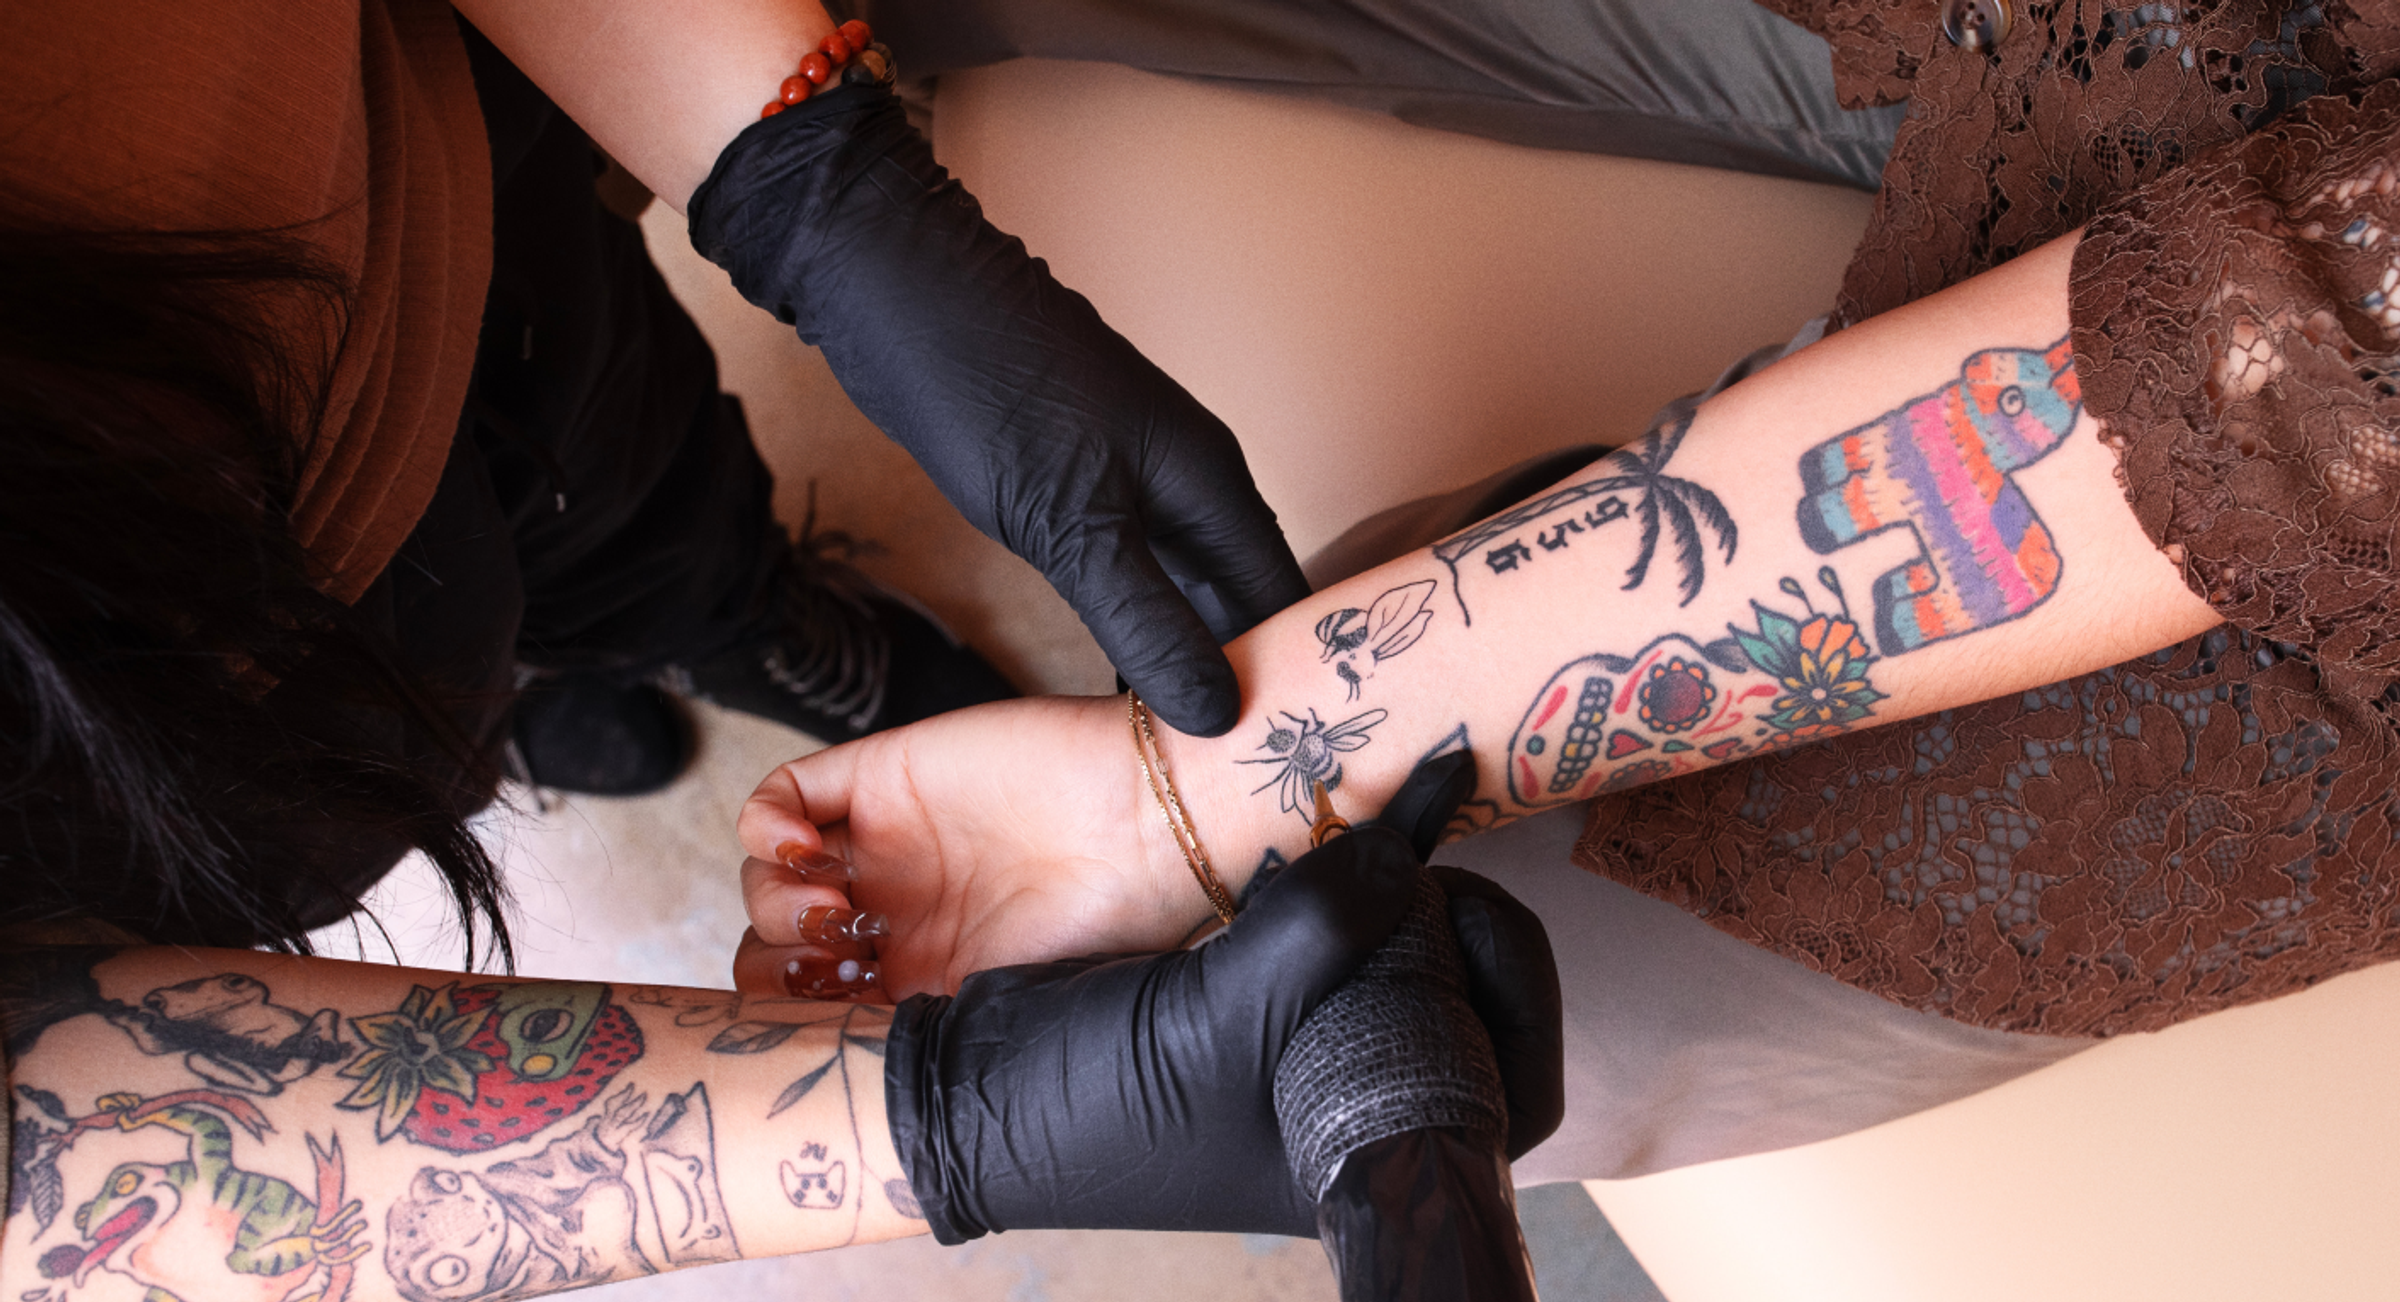
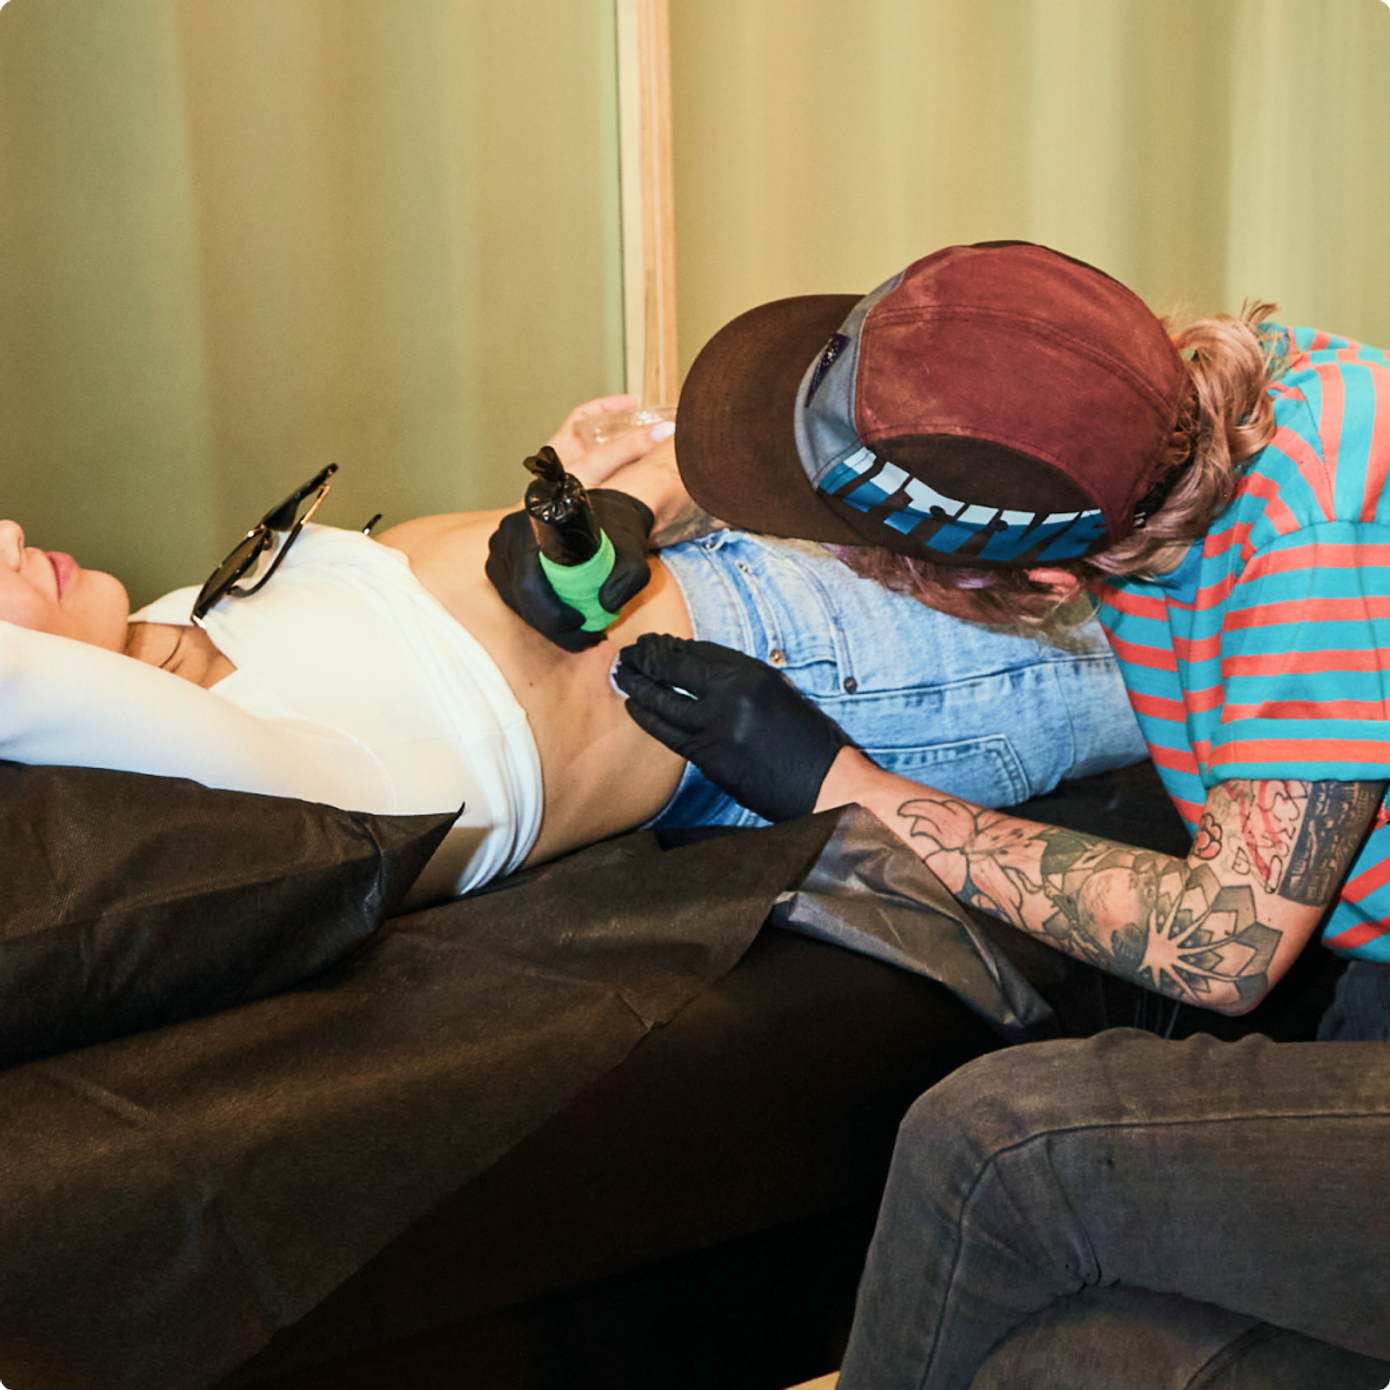
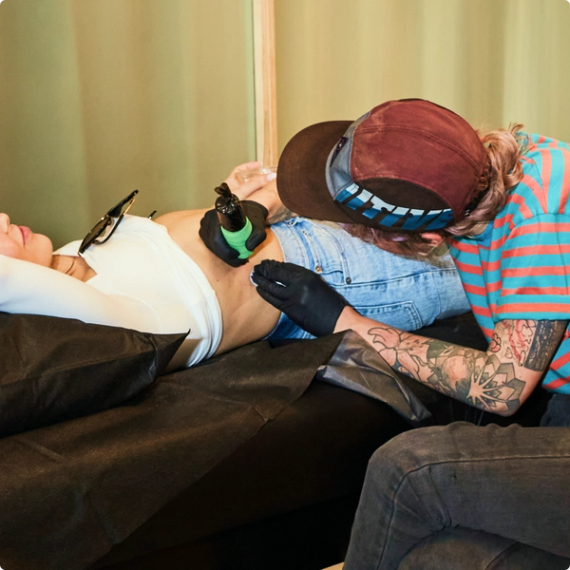
Dedication to your client's skin, even after the ink has faded, should influence your application process. A gentle touch and meticulous attention to detail will result in skin that appears as great as it was before the tattoo, once the ink has completely disappeared. This can lead to returning clients seeking more Ephemeral or clients ready to commit to a permanent design.


What’s the Ephemeral difference?
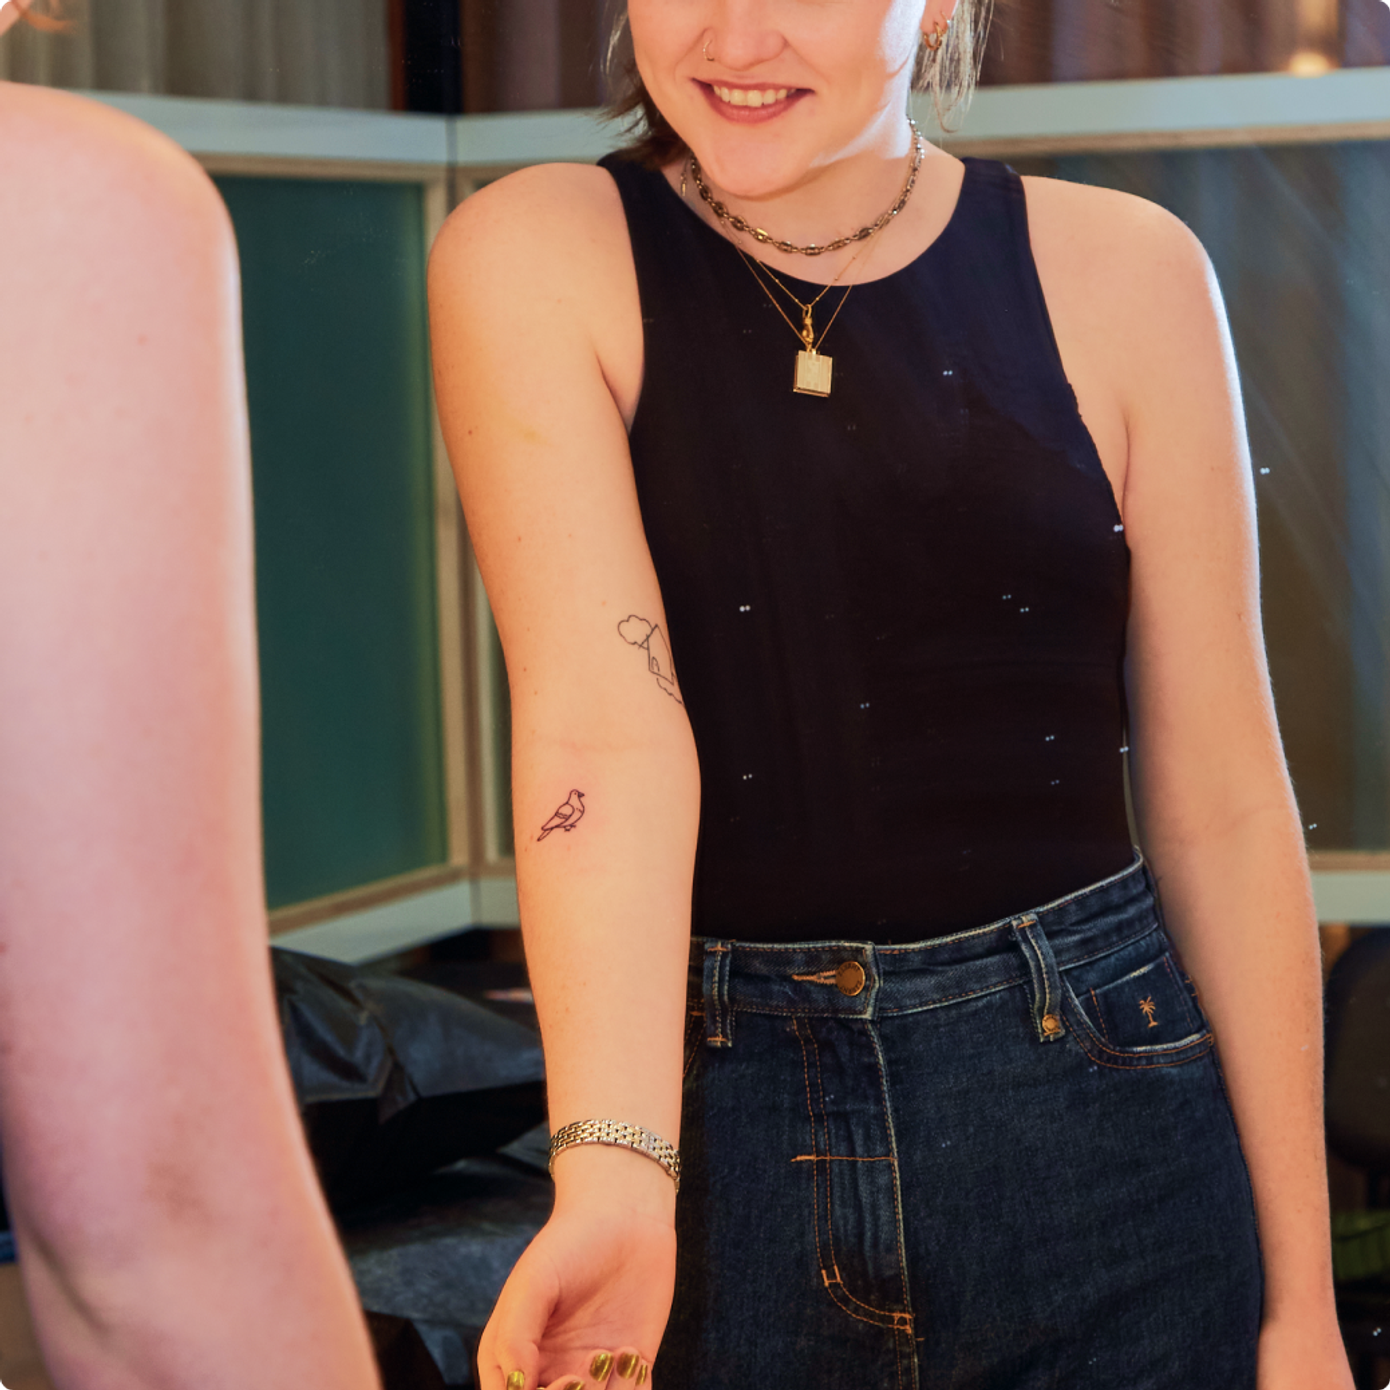
- An even tattoo fade within three years*
- Caring for your client’s skin throughout the tattooing journey.
- Creating a world where everybody is a canvas for self-expression.
*Ephemeral tattoos are formulated to last up to 3 years. However, some individuals may experience a longer-lasting tattoo due to several factors. Please see our FAQs for more information.
How to speak Ephemeral
General Tips
- The more ink used per area in a design, the more likely a longer fade time.
- The thicker the linework and the more shading included, the greater the fade timeline.
- Specific placements have naturally longer fade times, like wrists.
- Some placements we’ve seen with shorter fade times are the inner bicep and ribs.
- The more melanin in the skin, the faster the tattoo will appear to fade.
Healing Tips
- Find our most current tips for healing on our Aftercare Page
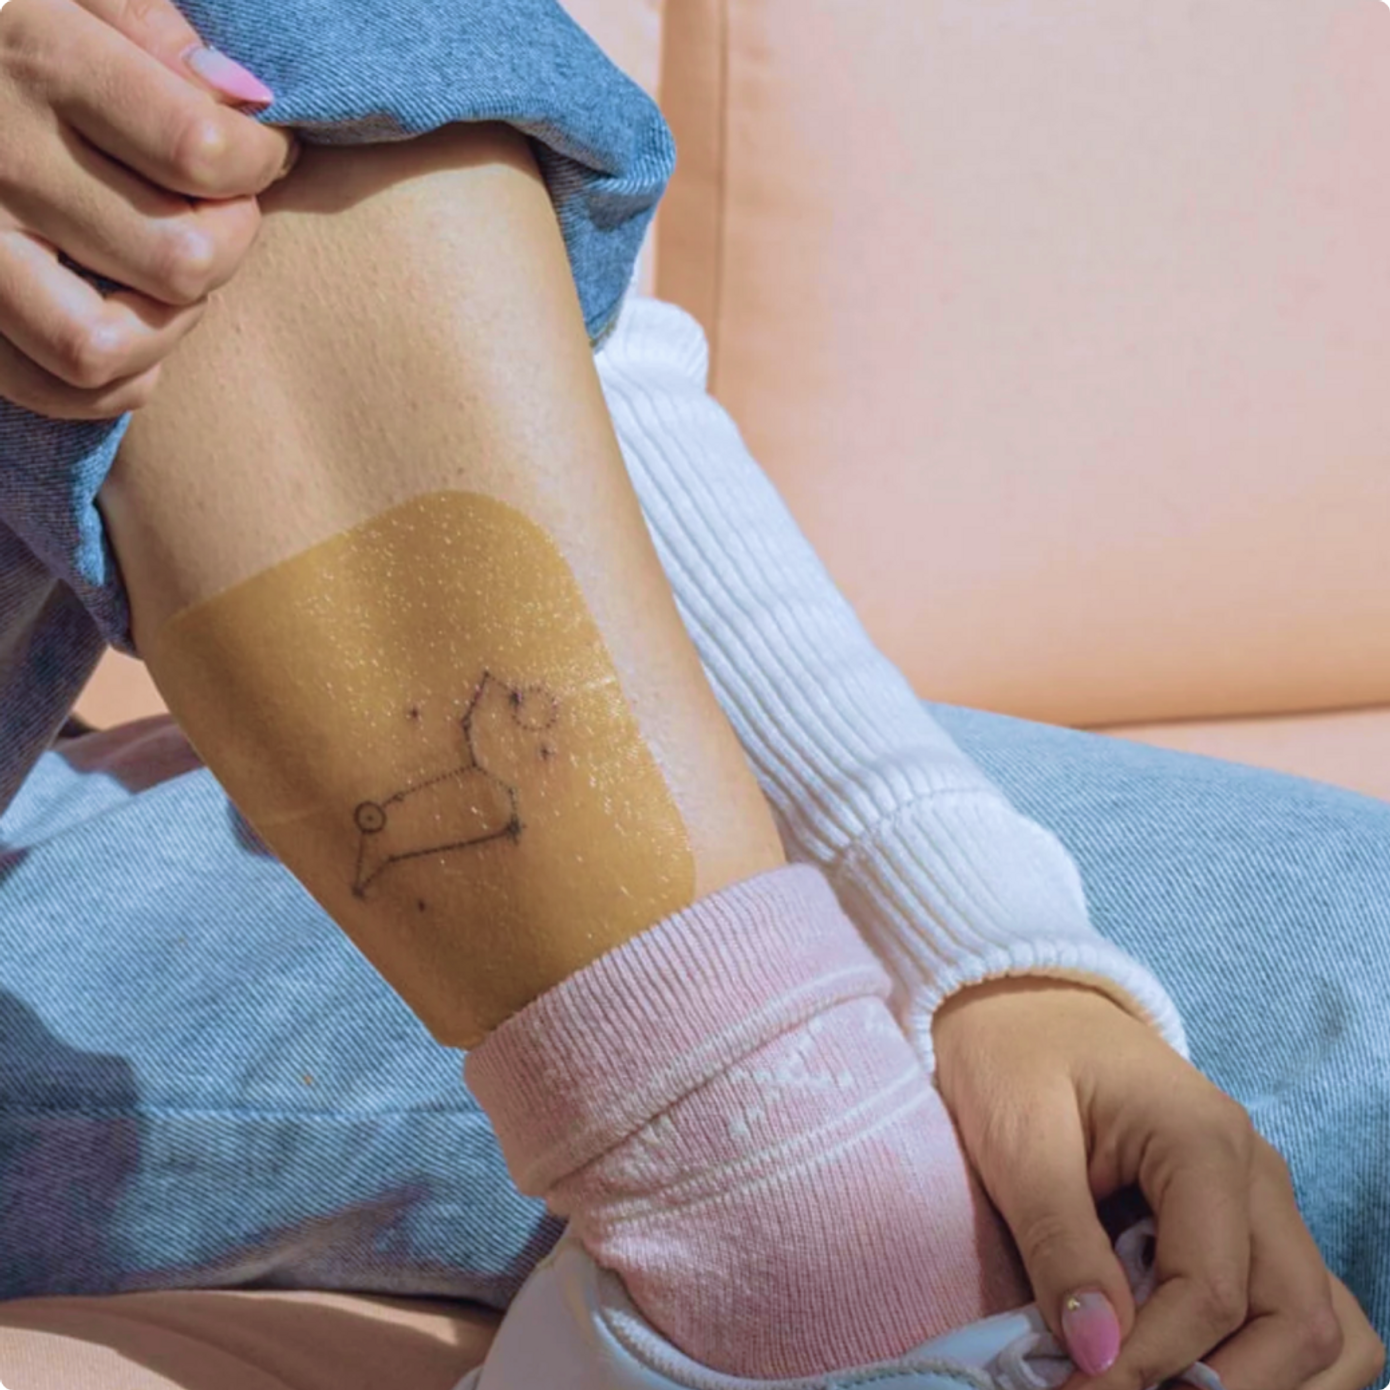
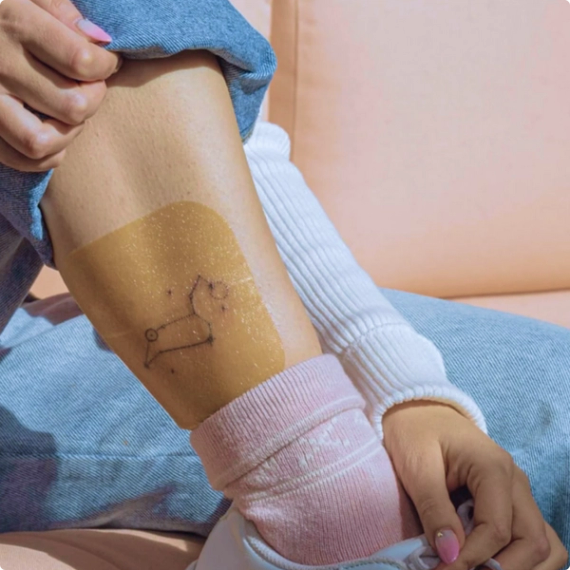
- We recommend using hydrocolloid patches for 3-4 days because they aid the healing process.
- Use a gentle soap and moisturizer during the healing process to prevent unwanted responses such as itching, burning, and other irritation.
- Avoid picking at your skin during healing to ensure proper healing and even fade.
- Avoid sun exposure, and apply sunscreen to protect from dangerous UV rays.
- Avoid swimming or submerging your tattoo for a month to prevent exposure to dangerous chemicals and bacteria and stripping away natural skin oils.
- Initial healing can take 15-30 days, and skin repair continues for a year or more before your skin is restored.
- Artists will be the first line of communication regarding healing and fading with their clients. The artist should reach out to hello@ephemeral.tattoo if further support is needed.
Design best practices
Inclusivity is a top priority of Ephemeral. We do not endorse any hateful material or the tattooing of hateful material. As the artist, you are responsible for upholding this inclusive priority and not tattooing racist, gang-related, or malicious materials.

A Focus on Client
Careful application to ensure the client's skin is returned to its original state after the tattoo fades.
Designing the artwork to meet the fade expectations of your client.
Creating a consistent saturation and cleanliness of the design during the tattoo process to ensure even fades.
What to Avoid
- Do not solid fill. Solid fills can cause too much trauma to the skin and create a higher risk for poor healing. Instead, use shading or filling effects such as stipples that do not disrupt the entire area of skin, allowing the new skin to have “something to hold on to” while it heals and repairs. Stipples, for example, should be applied close enough to achieve desired effects but not too close where they overlap and cause overwork.
- Avoid passing over already saturated lines. The more ink transferred, the longer the tattoo takes to fade. And too many passes can cause trenching. Be cautious of hatching and cross-hatching since they can cause intersecting lines that can lead to overwork or excess ink being transferred to the same area.
- Do not stack lines to create bold lines. For the same reason as solid fills, this leads to a higher risk of poor healing and longer fade times. Instead, use larger needle groupings to accomplish the line weight you wish to achieve to minimize the risk of overwork.
- Do not put lines too close together. Similar to permanent tattoos, with too much detail in a small area, the lines can expand as they heal, creating a blurry-looking design. Simplify details for a strong, effective design that will look great throughout your healing and beyond.
- Avoid dense over stippling. Stipple as close as is necessary to achieve your desired design without each independent dot touching. The stipples slightly expand during healing and give you the same effect without adding too much ink that could lengthen the fade time and overwork the skin.
- Avoid the ‘bold will hold’ approach. Keep your client’s skin condition top of mind. You can achieve a solid black line without blowouts or trenching with the perfect depth.

Supplies
Needle groupings + fade expectations
- The larger the needle groupings, the more ink is transferred to the skin the bolder the lines, resulting in longer fade times in most cases. Smaller needle groupings lead to less ink transferred, thinner lines, and shorter fade times.
- Artists we’ve worked with preferred needle groupings of 3-9 with 11 & 13 for bolder lines.
Use smaller and tighter gauge needles.
- #10/0.30mm RLs are a great pair with Ephemeral ink
- 30/5 RLLT and 30/7 RLLT Kwadron cartridges were some of our studios’ most popular.

Techniques
- Slower speed might be necessary to achieve better saturation. Avoid more than two passes.
- Stretch the skin when and where necessary for ideal saturation.
- Stipple shading leads to more consistent results and is more easily achievable than whip shading.
- We recommend tattooing at a 90-degree angle to the skin. Angling of the machine may result in blowouts. Some of our artists succeeded with some angle; avoiding blowouts is pivotal to a crisp-looking tattoo that fades within the guidance range of 3 years.
- Variations in line weight and stippling density impact your client’s tattoo fade durations. Creating a cohesive fade begins with the design itself. Design your artwork for the entire fade experience to set you and your clients up for success.
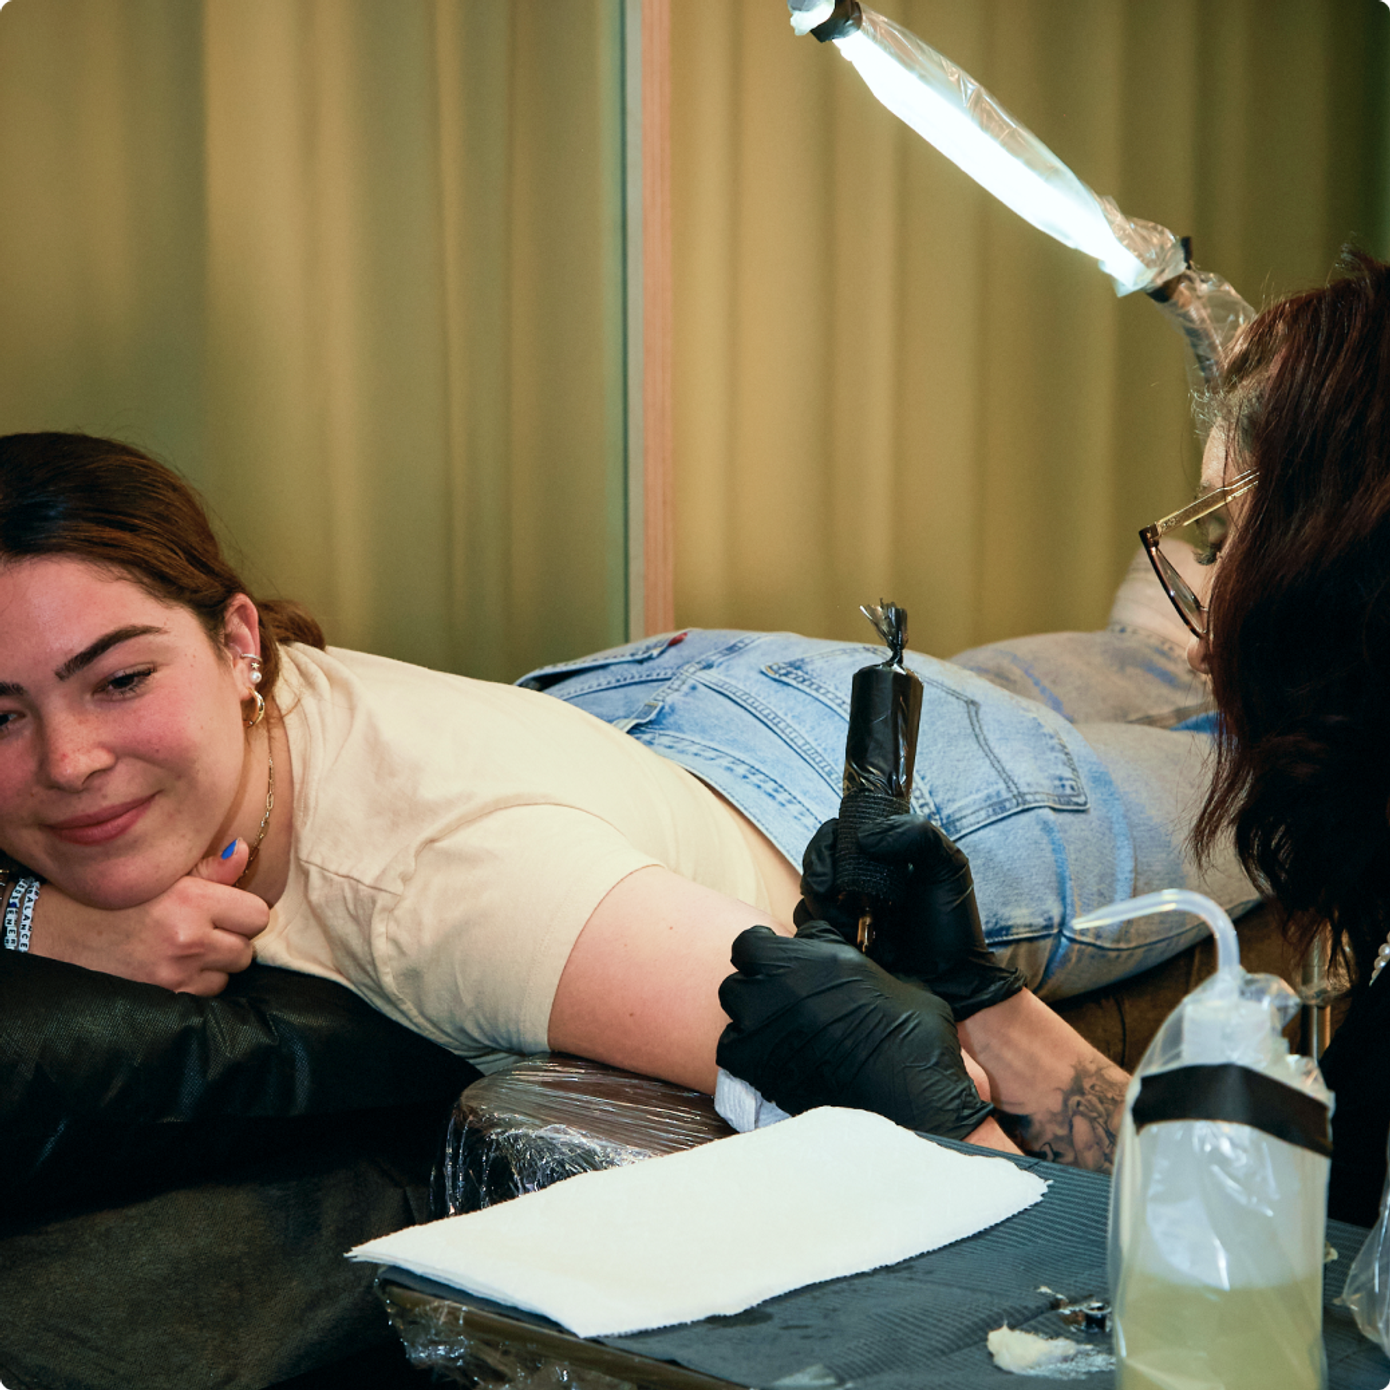
Set your clients up for a great healing experience.
After you patch them up and give them the general rundown of information, they’ll feel great, and after their tattoo heals, they’ll have a great experience with your artwork before it fades away.

Suggested Wrap-up Process
- Clean the tattooed area using green soap or other disinfectant, then cover the tattoo with a hydrocolloid patch, ensuring ½-1” coverage around the tattooed area. If placement allows, consider lightly wrapping with grip tape to ensure the patch is well adhered.
- If the tattoo is larger than the HC patch, slightly overlap patches by ¼” or less to promote breathability while maintaining full coverage and protection.
- Advise the client that they can gently remove the hydrocolloid patch in 3-4 days following tattoo application. Doing so under the sink or in the shower is typically a less painful experience.
- Clean the area with unscented soap and then moisturize with Vanicream 2-3 times per day until the tattoo is fully healed.

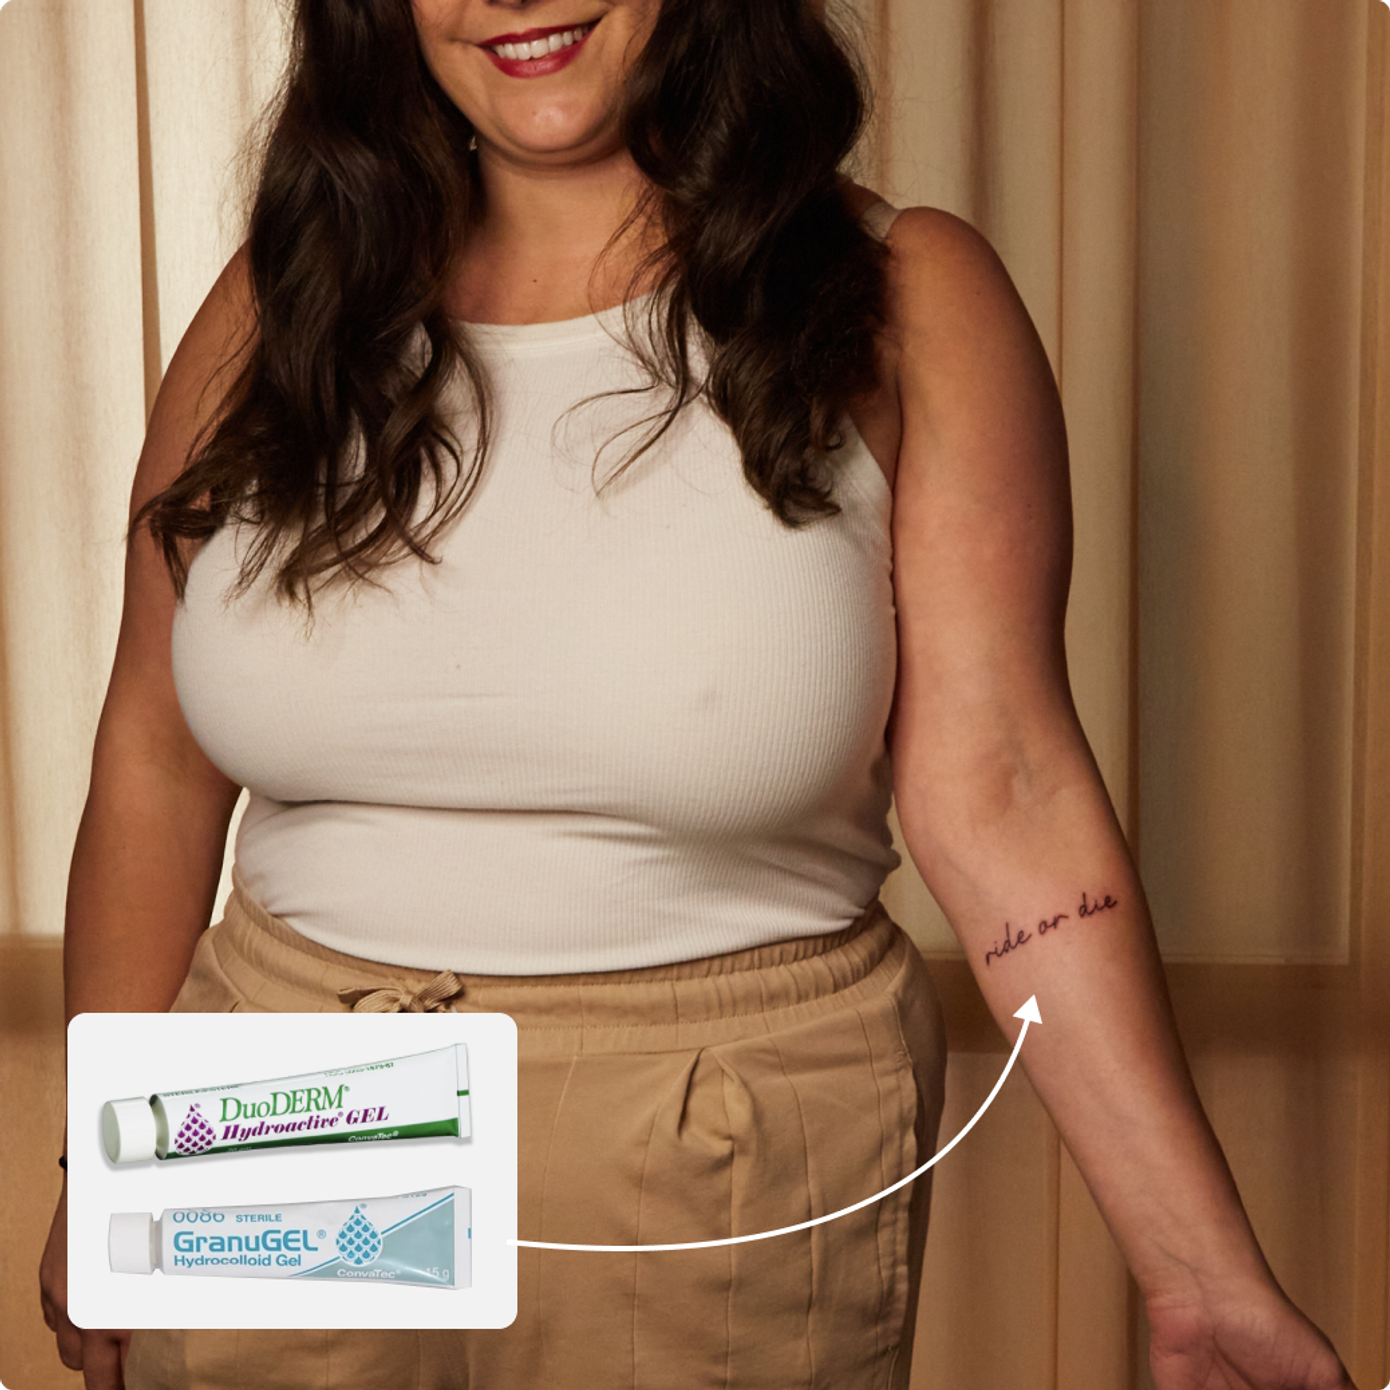
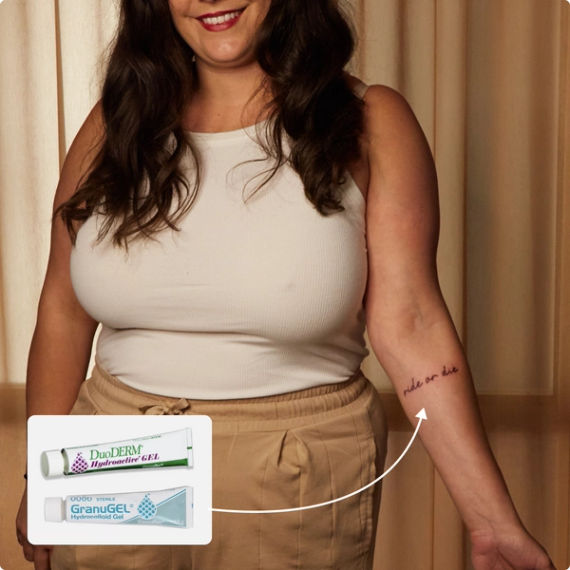
Suggested Wrap-up Process for inner ear or known allergy to adhesives/HC patches
- Apply a thin but fully covered layer of the hydrocolloid gel provided to the area after cleaning it with Green Soap and patting it dry.
- Apply the gel at least once per day for 3-5 days, preferably after showering and before going to sleep. Ensure the area is clean using unscented soap and wash with a gentle stream of water. Then, pat dry before applying the gel.
- At the end of the 3-5 days of gel application, clean the tattooed area with unscented soap and moisturize with Vanicream 2-3 times daily until the tattoo is fully healed.
.svg?w=250&auto=format)
See all our aftercare tips and tricks for clients in one place
FAQ + Beyond Ephemeral
Step 1: Make sure the area is dry. Remove all green soap, oil, A&D ointment, and liquid residue from the skin using a lint-free cloth or disposable non-linting paper towel.
Step 2: Move the HC to an area with less motion. Ensure there is a half-inch barrier or more around the tattoo for protection.
Step 3: Check to see whether any part of the HC is still in a high motion area–if yes, remove excess as long as the tattoo has the required ½ inch or greater border. If still not sticking, see if there is room to cut the HC off of areas of movement.
Step 4: Lightly wrap the area in grip tape to secure the edges and borders and to improve further adhesion.
Because skin preservation is prioritized (valued) over initial saturation, touch-ups can be a useful tool for correcting minor areas where sufficient ink may not have been transferred initially. Allowing clients to book a touch-up can help preserve their skin and prevent undesirable initial overwork. Touch-ups are recommended within 30-60 days of initial tattooing.
If your client decides to make it permanent, it is safe to tattoo over the original Ephemeral tattoo. The Ephemeral ink will still fade away, so plan accordingly if reinking. We suggest waiting till the tattoo reaches at least a level 5 or 6 fade.
- Densely shaded tattoos (overlapping stipples)
- Big, bold tattoo lines
- Placement – skin physiology at a particular area. Some body parts are known to heal and behave differently than others.
- Blowouts
- Individual’s physiology.
- Individual’s physiology
- Tattoo ink is not deposited deep enough into the dermis.
- Placement. (skin physiology at a particular area)
- Do not dilute the ink or mix it with other products
- Keep the ink vial and carrier solution syringe in the original heat-sealed packaging until ready to use. Store them in a cool and dry place; temperatures, above 35° C or 95° F might adversely affect the ink performance.
- Do not store mixed ink. Dispose of it after the tattoo session.
- Ensure the ink vial and carrier solution syringe are at room temperature and gloves are worn during the mixing process
- Disinfect the outer surface of a Vortex Mixer using madacide or other disinfectants (note: this is a one-time process that needs to be followed before the first mix of the day)
- Tear open the heat-sealed packaging and remove the ink vial and carrier solution syringe
- Prepare ink powder by opening cap, ensuring the lid is not too far back to avoid tipping over
- Prepare carrier solution by twisting off black rubber cap from 1 ml syringe
- Closely hold carrier solution syringe over ink powder and slowly push the plunger to transfer solution
- Ensure carrier solution contents have been completely transferred by pulling white plunger fully back and rapidly pushing forward
- Close ink vial cap containing the ink powder and the carrier solution
- Insert vial into the vial holder on the vortex mixer (Note: make sure the vial is not tilted into the holder to reduce ink splattering on to the cap)
- Optimal mixing speed is 2500 rpm or medium high (the mark with second highest setting)
- Turn on the vortex mixer by flipping the black switch to position II
- Mix for 60 seconds, repeat process if tattoo application is delayed
- After mixing is complete, remove ink vial by holding mixer with one hand and firmly pulling vial with the other
- If the ink is coated on the sides of the vial, wait for a few seconds to let it settle
- Use your finger to tap the cap and sides of the vial to ensure that the mixed ink is adequately collected. Tapping is important to recover most ink from the vial into the cup.
- Pour the mixed ink into the tattoo ink cap
- You’re now ready to tattoo!